

Introduction
With the recent upheaval at Twitter many people have decided that it’s time to find a new community. While numerous sites have grabbed people’s attention including Post News, Hive, Tumblr, etc. My choice is: Mastodon. However, as is always the case with something that is new, there are questions and concerns that people have with a new community.
And, that is expected. Not all social networks are designed the same way, they each have their own flavor, . While Mastodon bears a similar look to Twitter in some respects, there are quite a few things that are very different about it. These differences range from how you sign up, to how you find and interact with others, to how you (and the moderators) deal with bad behavior.
So, what are the best ways to get on to Mastodon, and how can you make it into a meaningful experience for you? That’s one of the topics we’ll explore in this series of articles. The other topic is: dispelling some of the myths that have arisen with the rise in popularity of Mastodon.
Migrating To Mastodon Issues
The most common criticism of Mastodon is that it is difficult to get started. This stems from the fact that some people find the sign-up process to be difficult. The irony is that the current sign-up process was intended to accomplish a couple of goals:
- It was designed to make it easier for new users to find groups of people that share common interests.
- It was designed to make the distribution of users, and therefore the load / usage of the instances more even.
However, the criticism of this system is not without merit. Sites like Twitter, Facebook, TikTok have a simple signup process because they are a single, monolithic service run by a single entity (typically a business). Mastodon isn’t a single entity, it is a collective of entities spread throughout the world that chose to inter-operate in the Mastodon Federation.
So, let’s take a look at starting a Mastodon account and getting started.
And, if you find that the process is getting a bit too involved for you, scroll down to the section A Faster Way.
Signing Up For Mastodon
There are two ways to sign up for Mastodon: (1) via the official Mastodon App on Android or iPhone, or (2) via the Join Mastodon website. The second method will apply to people using third party apps (like Tusky, Tooot, Fedilab on Android, and Tootle, Metatext, Tooot on iPhone).
Using the Official Mastodon App
Signing up using the Official Mastodon App is less complicated than it has been portrayed as. The biggest confusion tends to come from the need to select an instance.
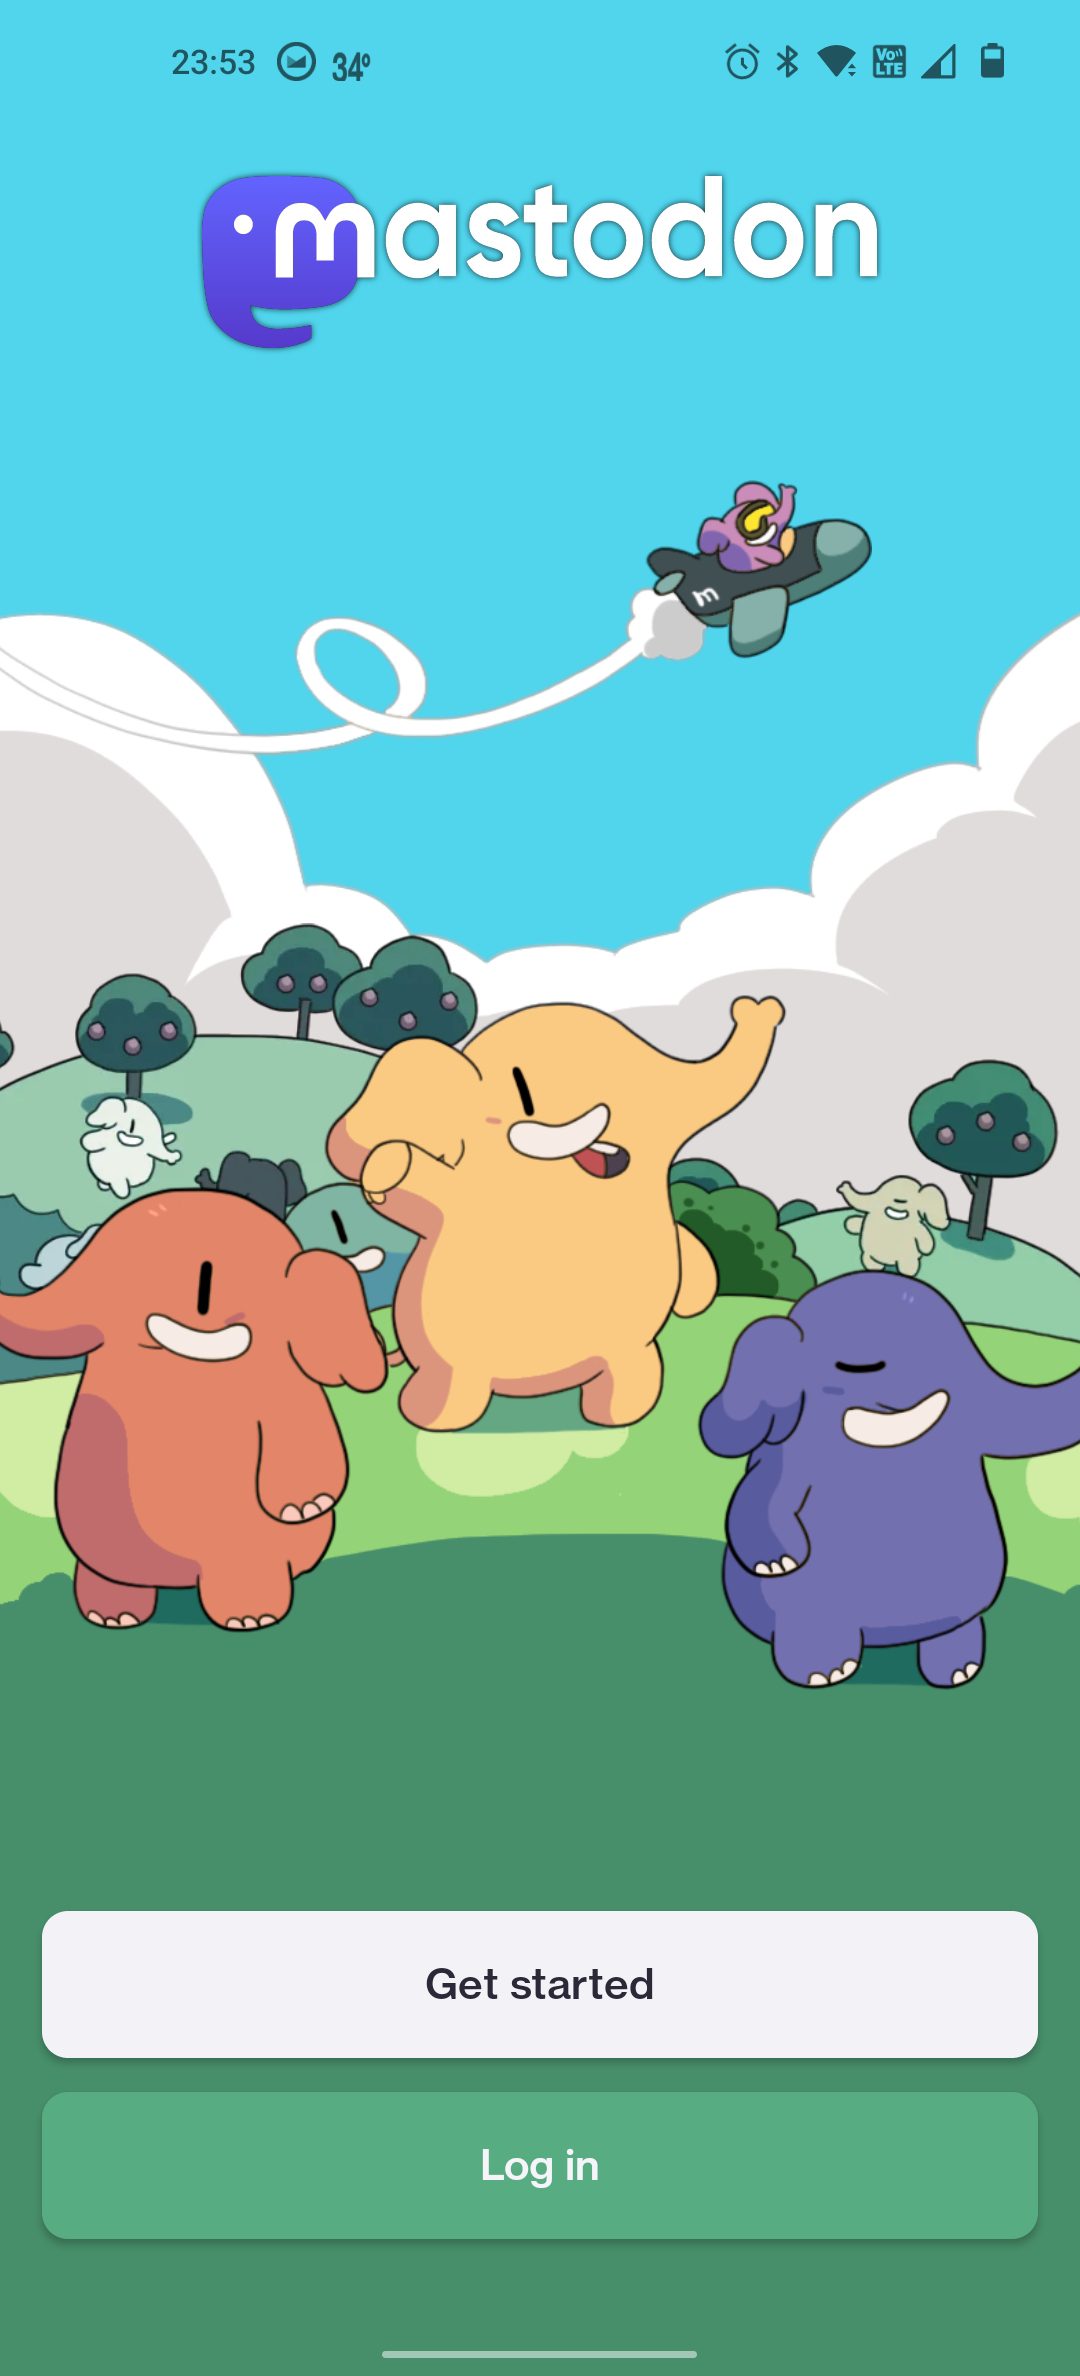
The start screen (see image 1) for the application offers two options for you at the bottom of it’s screen: “Get Started” and “Log In”.
Log in is for users that have already created an account on Mastodon. (It is also used if you decide to change the server that you are logging into… More about that later in the article.)
The Get Started option is the one that you will want to select as a new user to Mastodon. Once you have selected the Get Started button, you will be presented with a new screen (see Image 2). This is the instance selection screen:
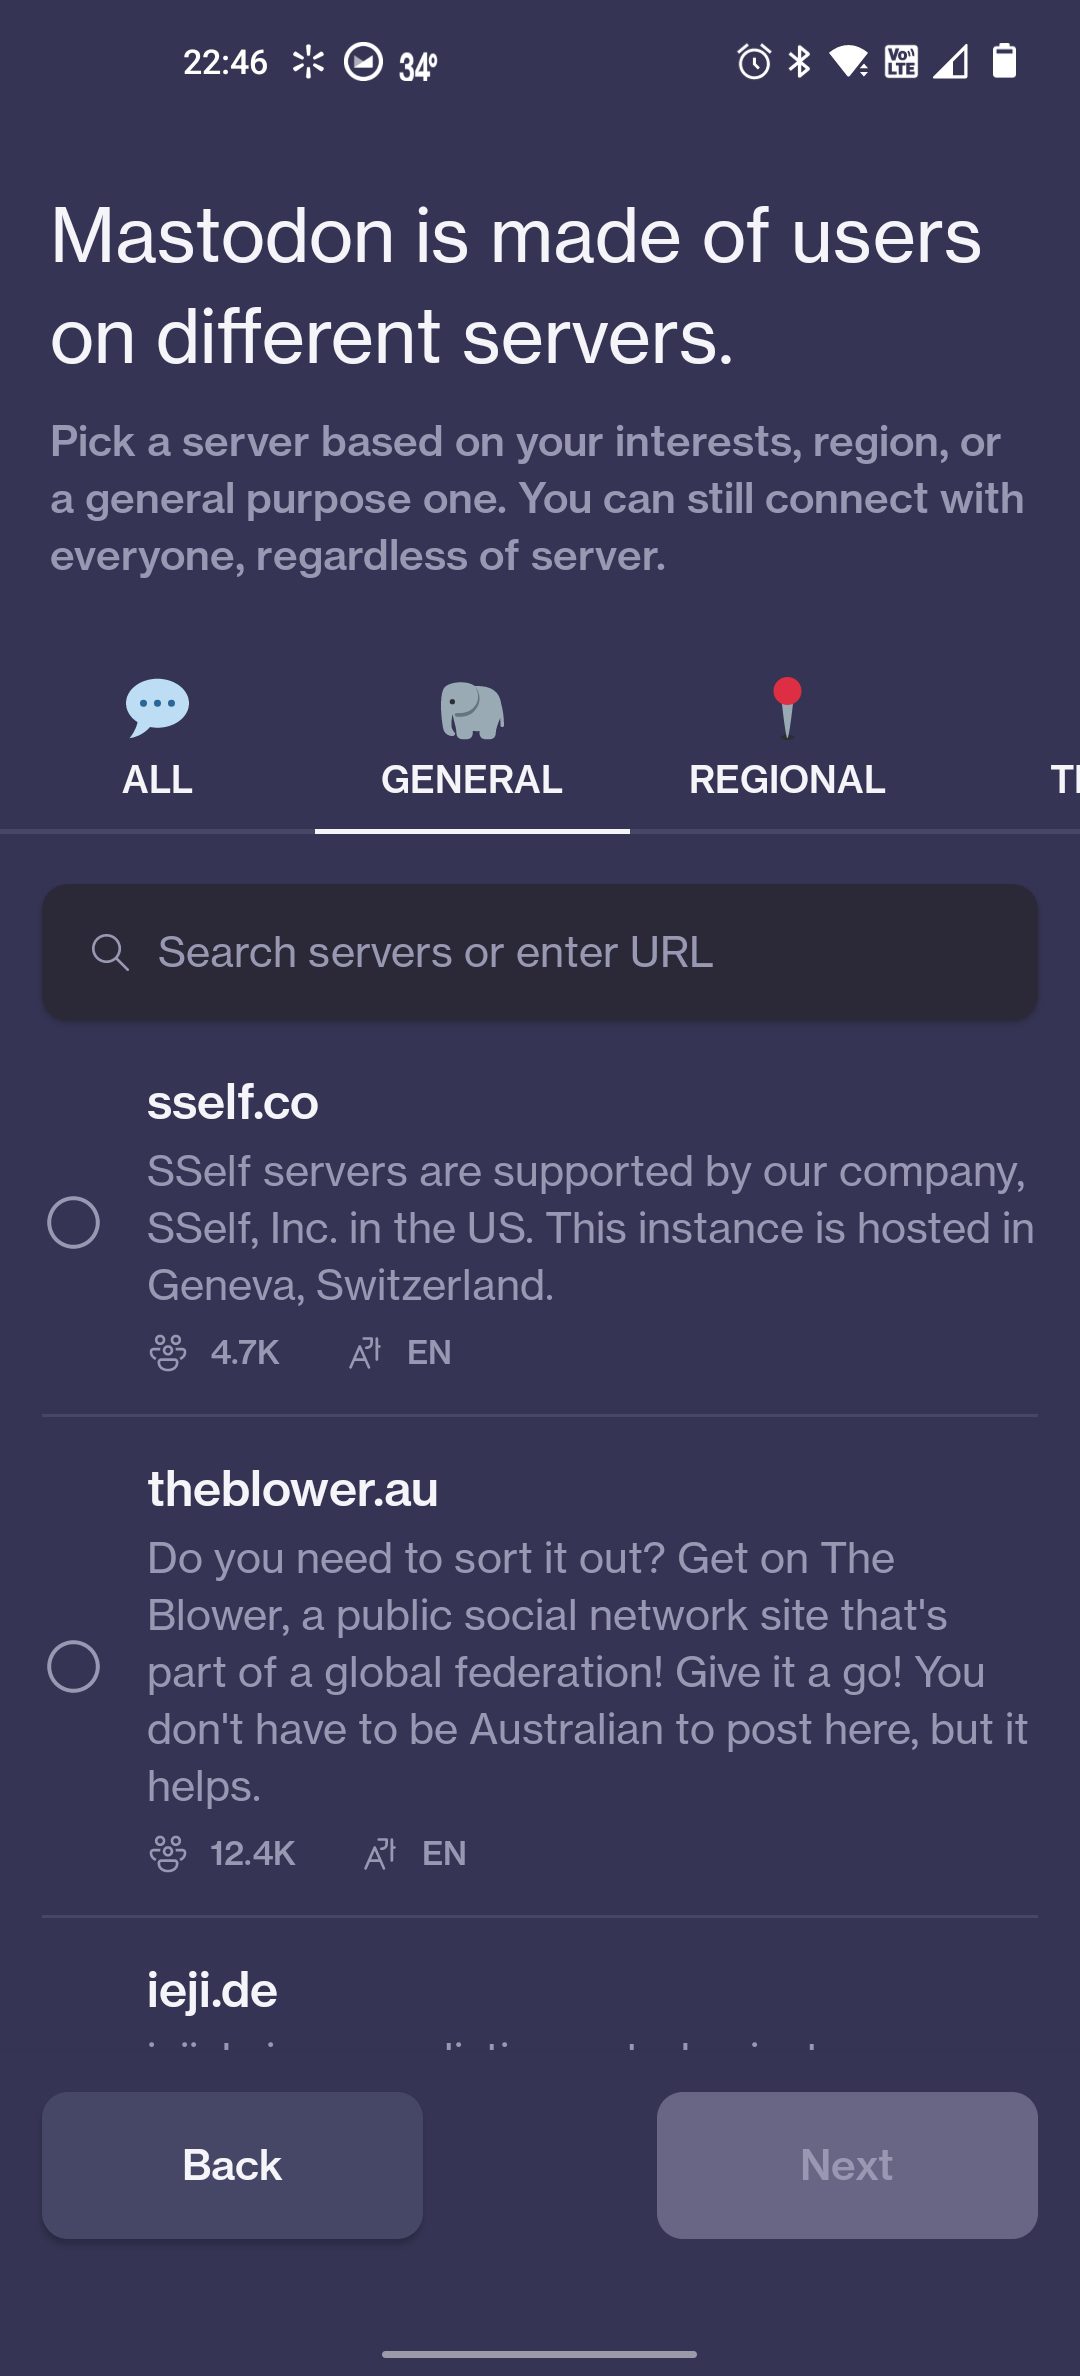
The easiest way to navigate this screen is to select “General” from the options, and then select any server that sounds good to you based on the description. The one consideration that might be a determining factor for you is language. The majority of servers are English, however, there are some for languages like Gaelic, Japanese and that rarest and strangest language: Australian. (I’m just kidding…)
Once you selected an instance, select the Next button. This will bring you to the following screen (see Image 3):
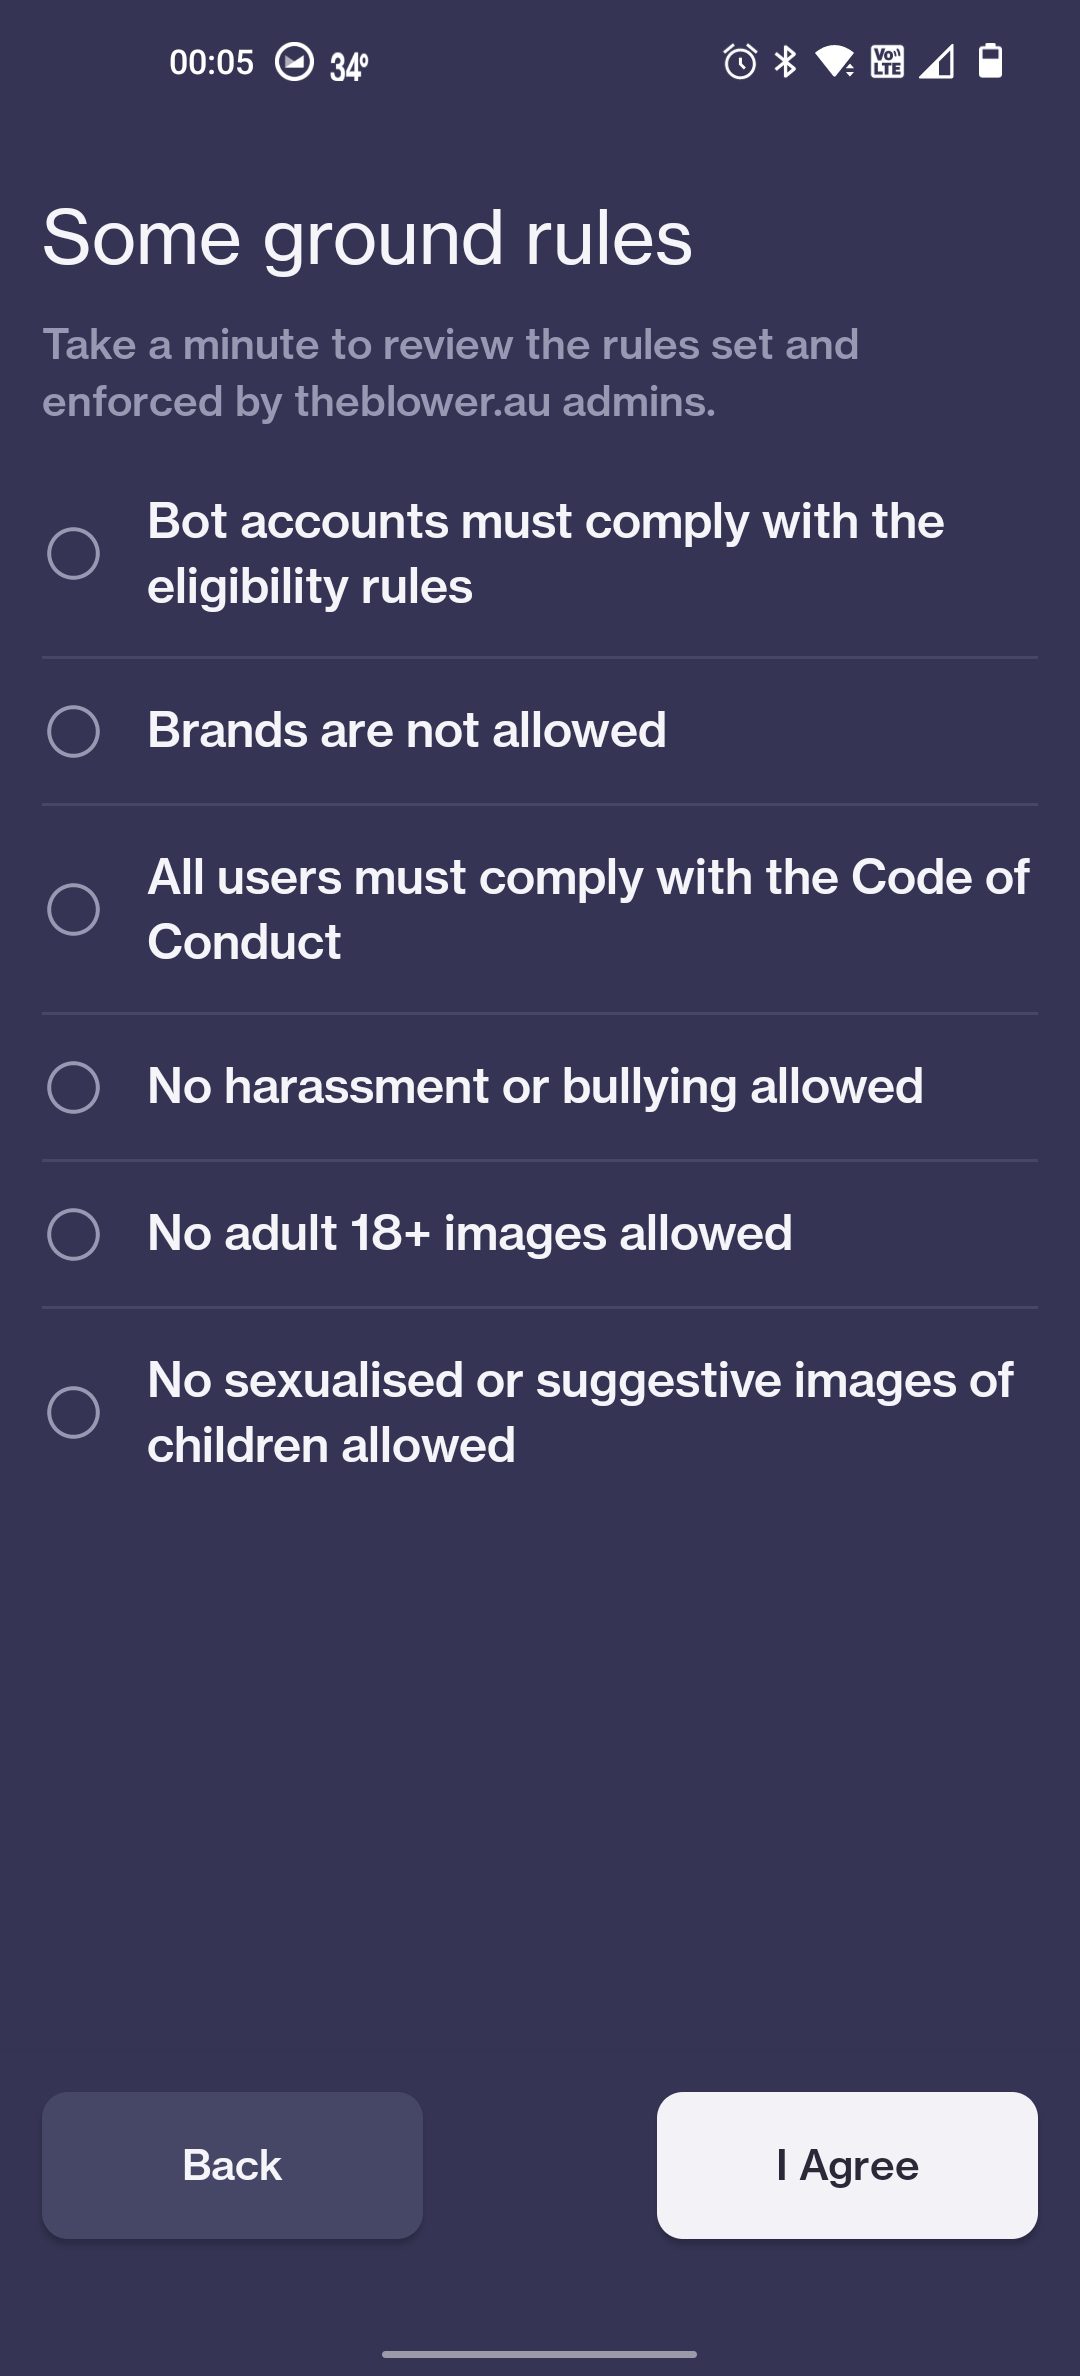
Take a moment to review the rules of the instance you have selected. If you agree with them, Great! Click the I Agree button to move forward. On the other hand, if there is something in the rules that you don’t agree with, click the Back button to select a different instance.
Once of you have agreed to the rules for an instance, you are presented with the following screen (see Image 4):

This screen presents you with the opportunity to read the Privacy Policies for both Mastodon App and the instance you have selected. I would recommend reading these, although I know many people don’t since they are typically full of all sorts of legalese and jargon. When you are ready, click the I Agree button.
And, you are taken to the final screen (see Image 5) – the account creation screen:
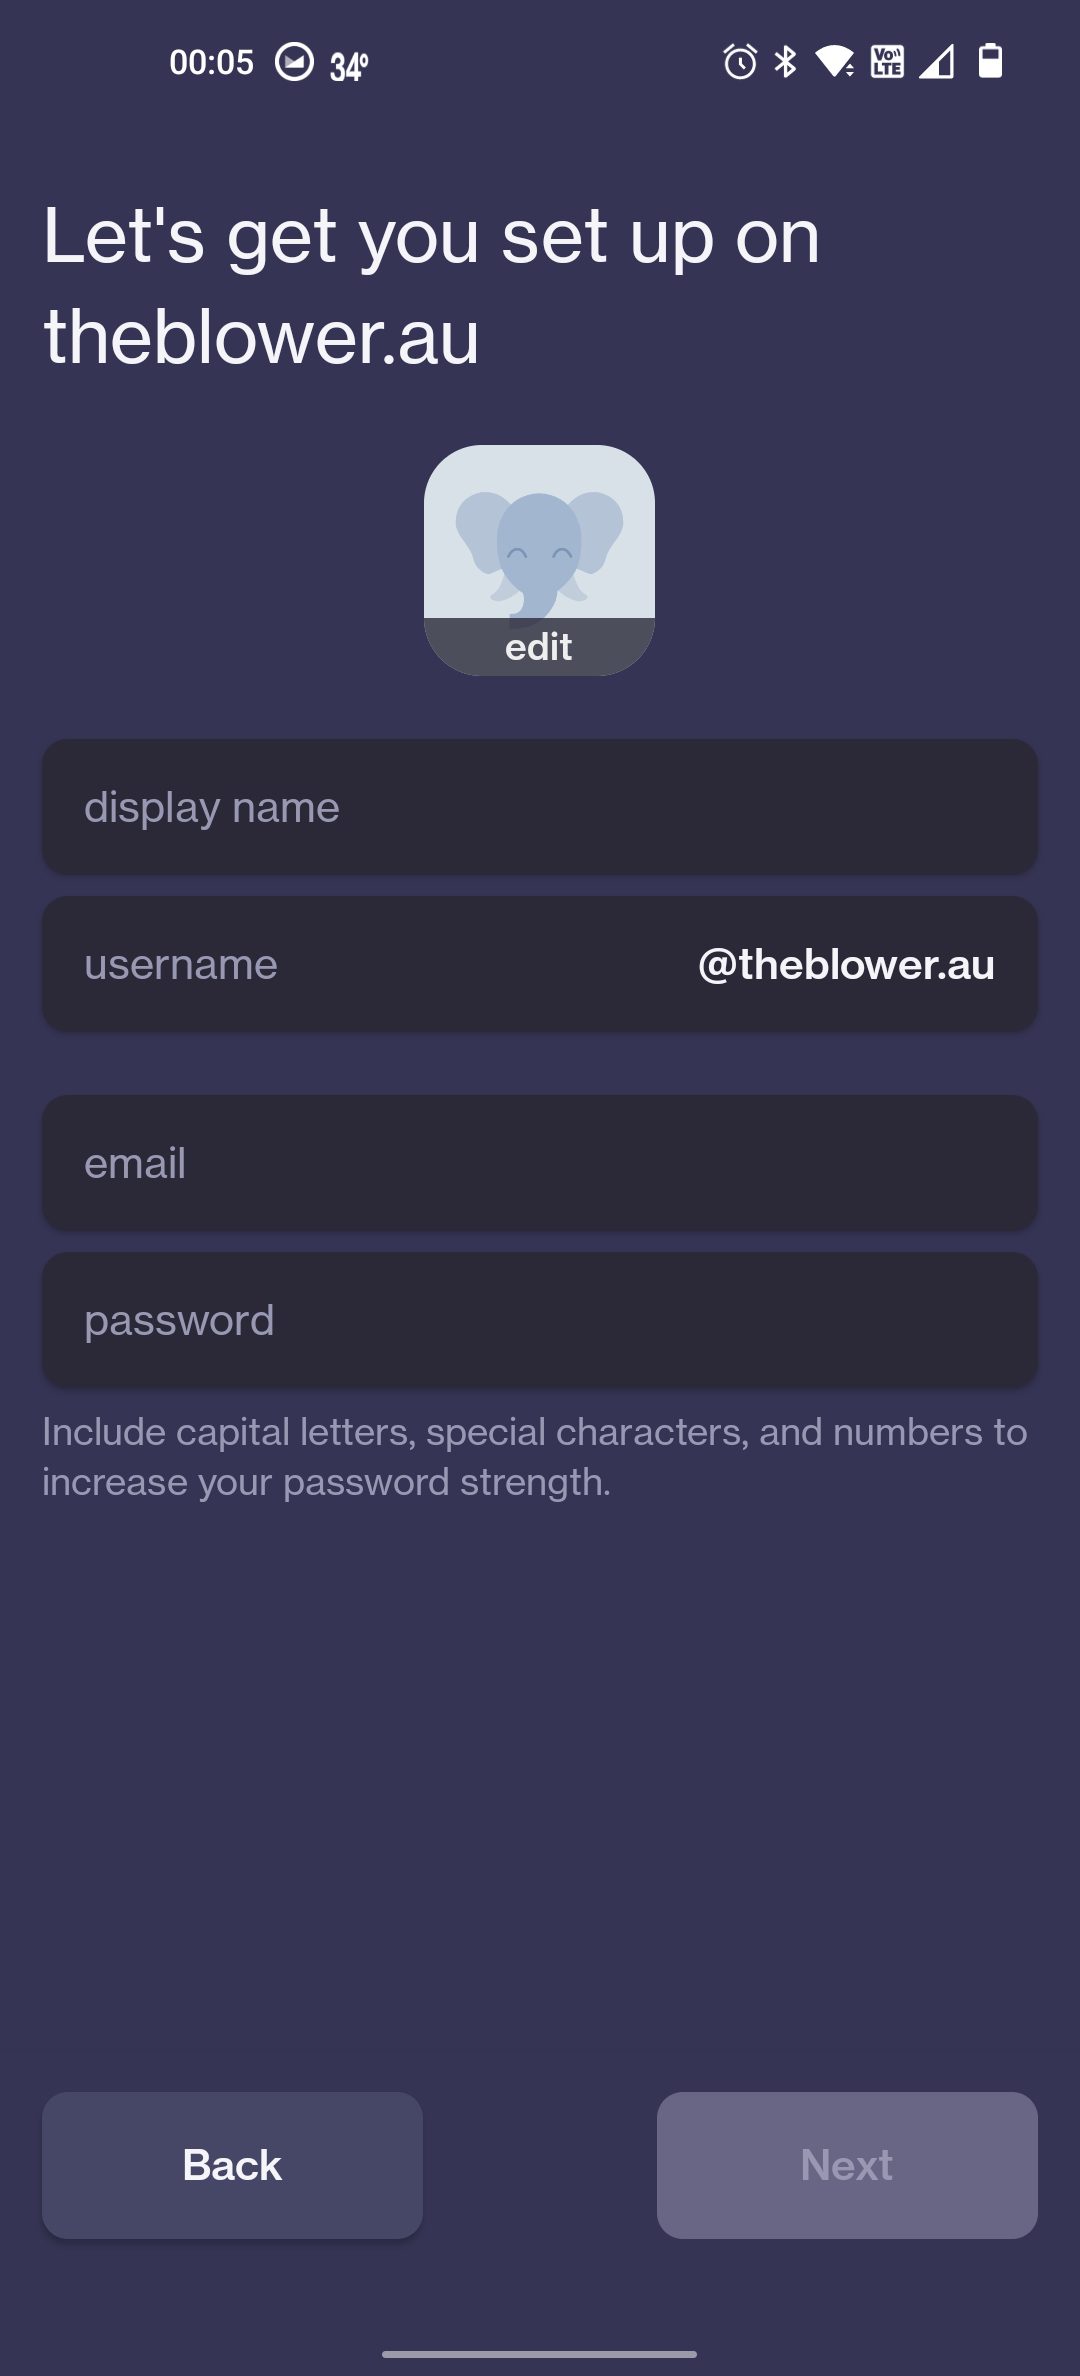
This will hopefully look a little more familiar. You fill in the form, select an avatar, and click the Next button to complete the signup on the instance you have selected. From this point on you will be on Mastodon and can start looking around, finding people to follow, etc.
Using The Join Mastodon Website
Using the Join Mastodon website is a similar experience to using the official Mastodon App. When you go to the website you will see the following page (see Image 6):
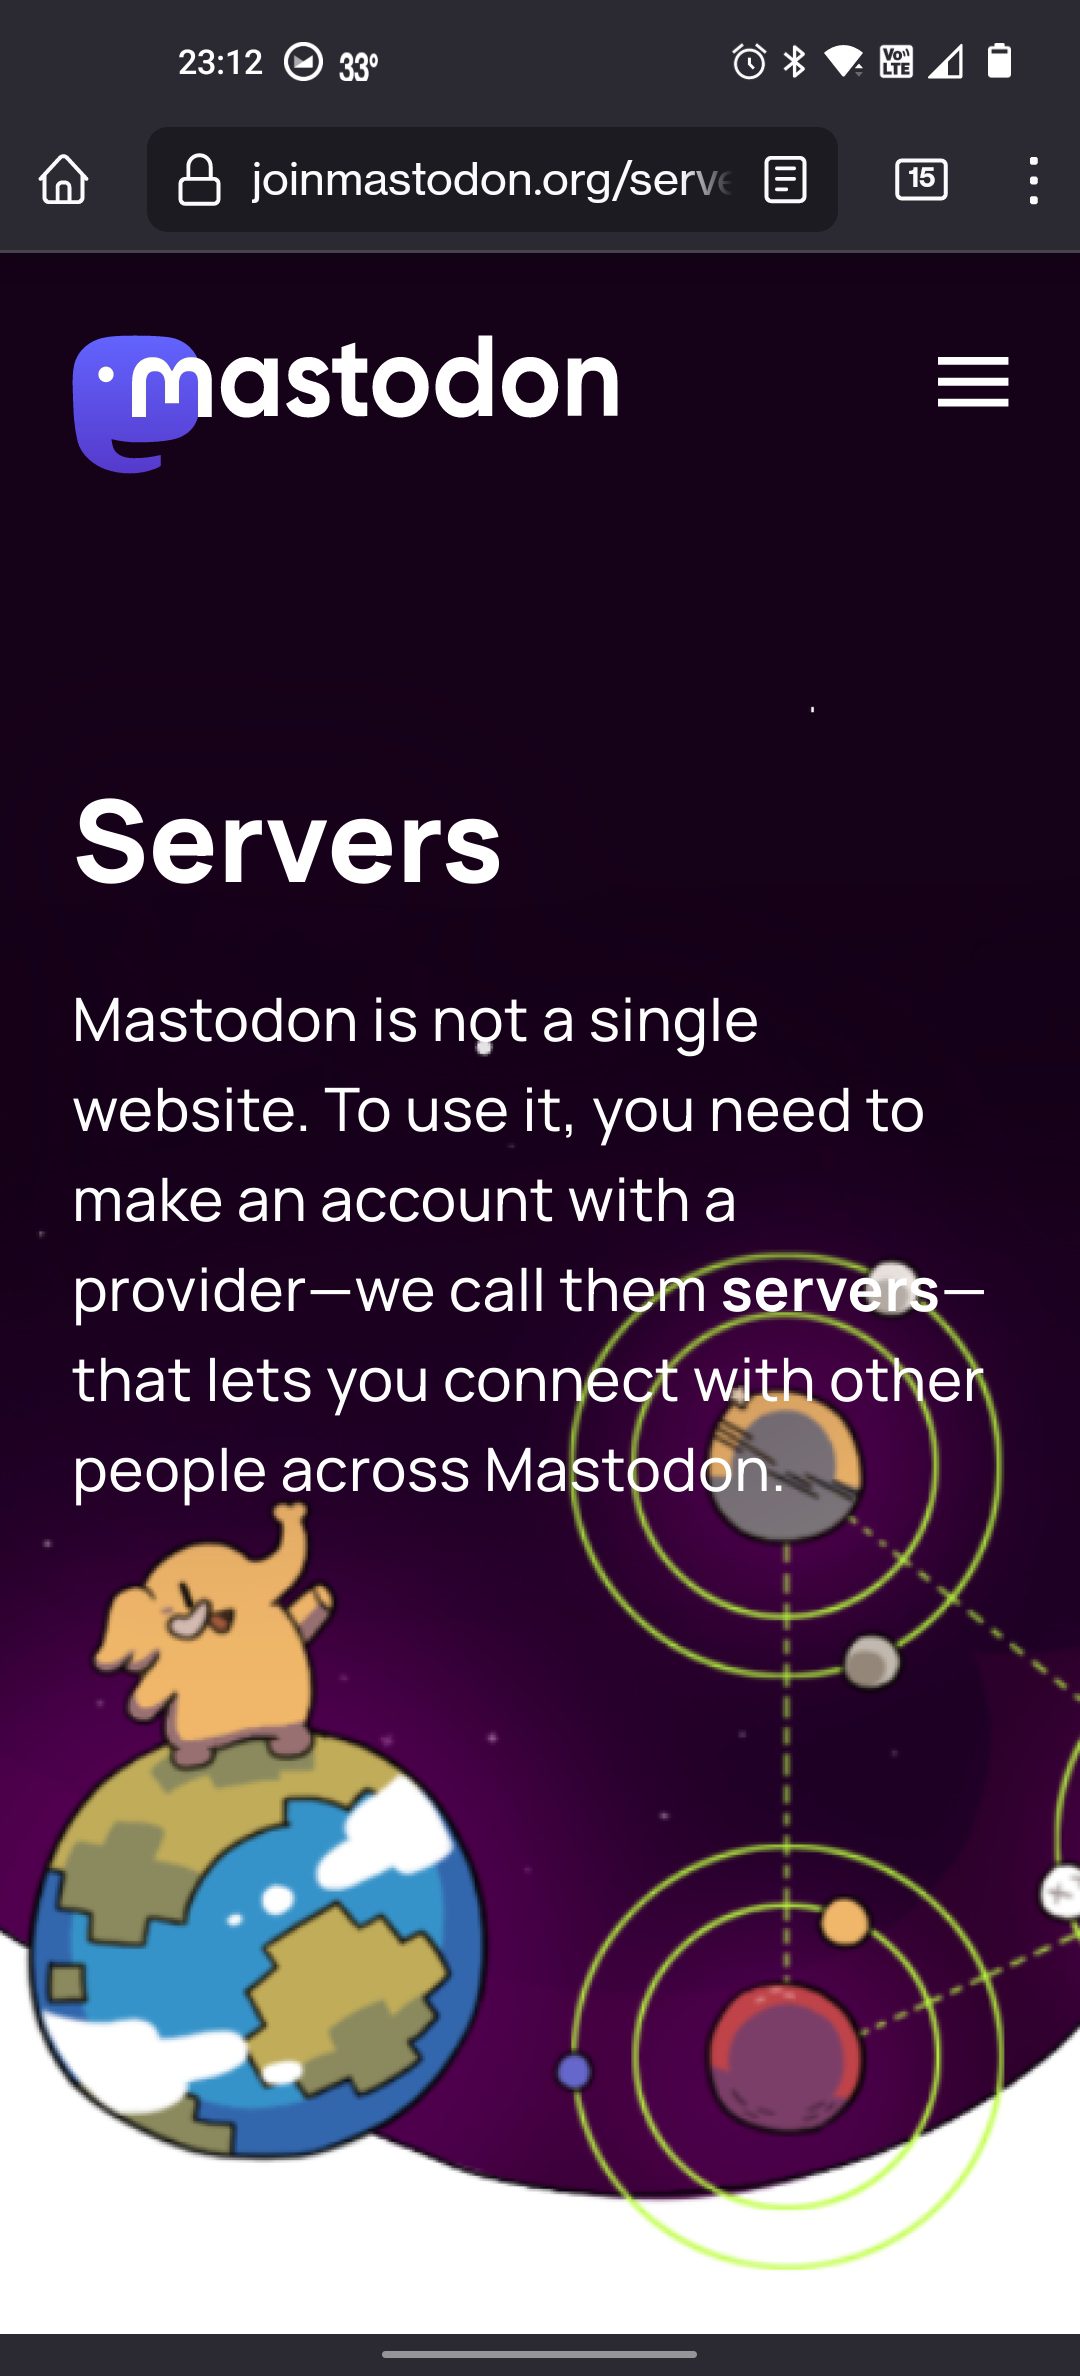
To get started click the Create Account button, and you will be taken to the following screen (see Image 7):
This is the page where you will select your instance. First we want to scroll down to the Topic section of the page (see Image 8):
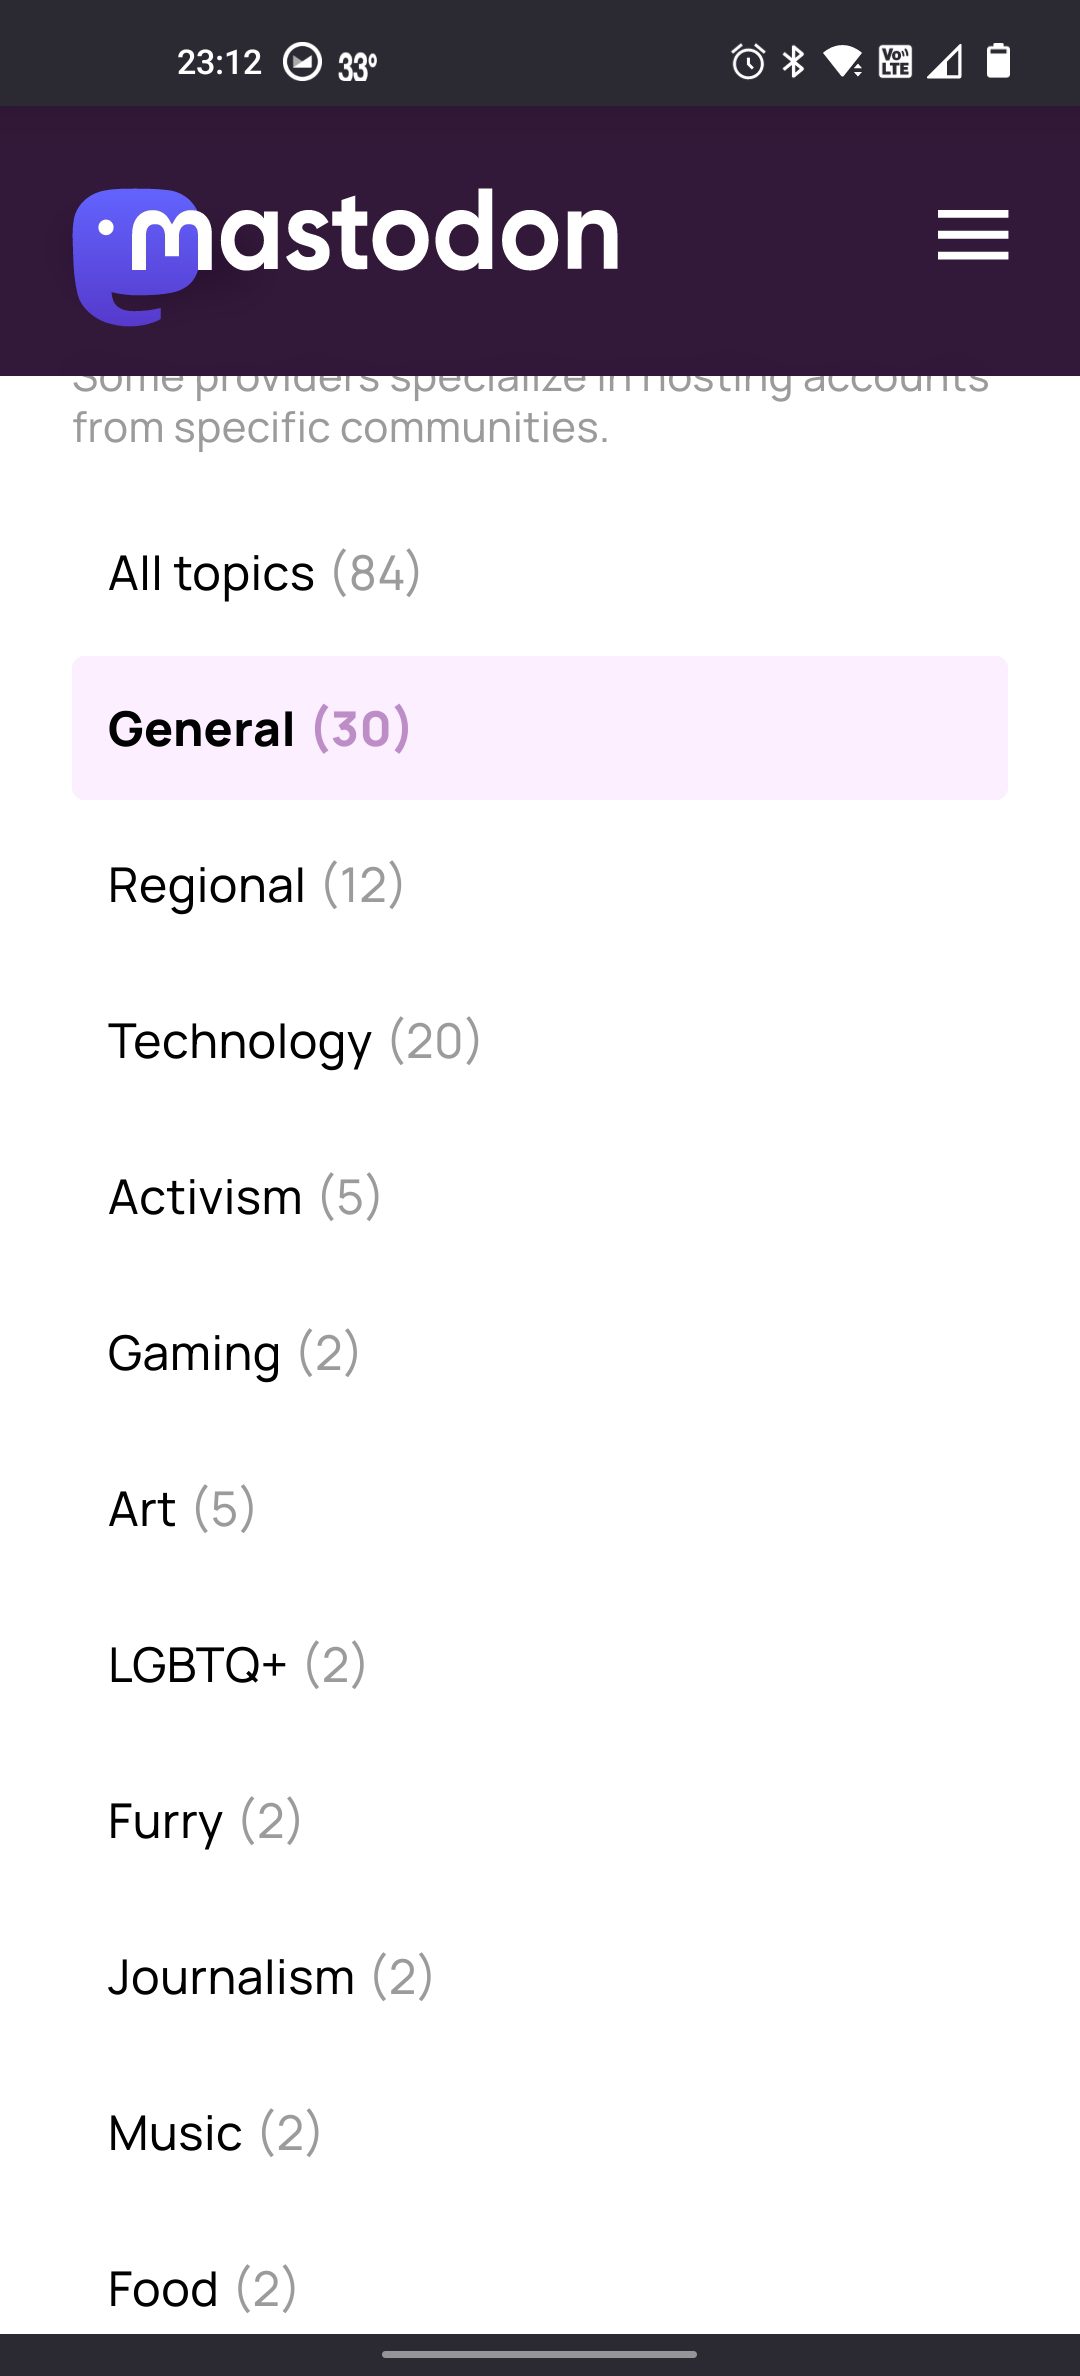
In this section select the General topic. This will cut the number of servers to less than half of the original list. Note: there are a few categories for special needs you might want to consider, like LGBTQ+ and Activism. These will provide less options, but possibly more supportive communities.
After making your Topic selection, scroll down to pick an instance (see Image 9):
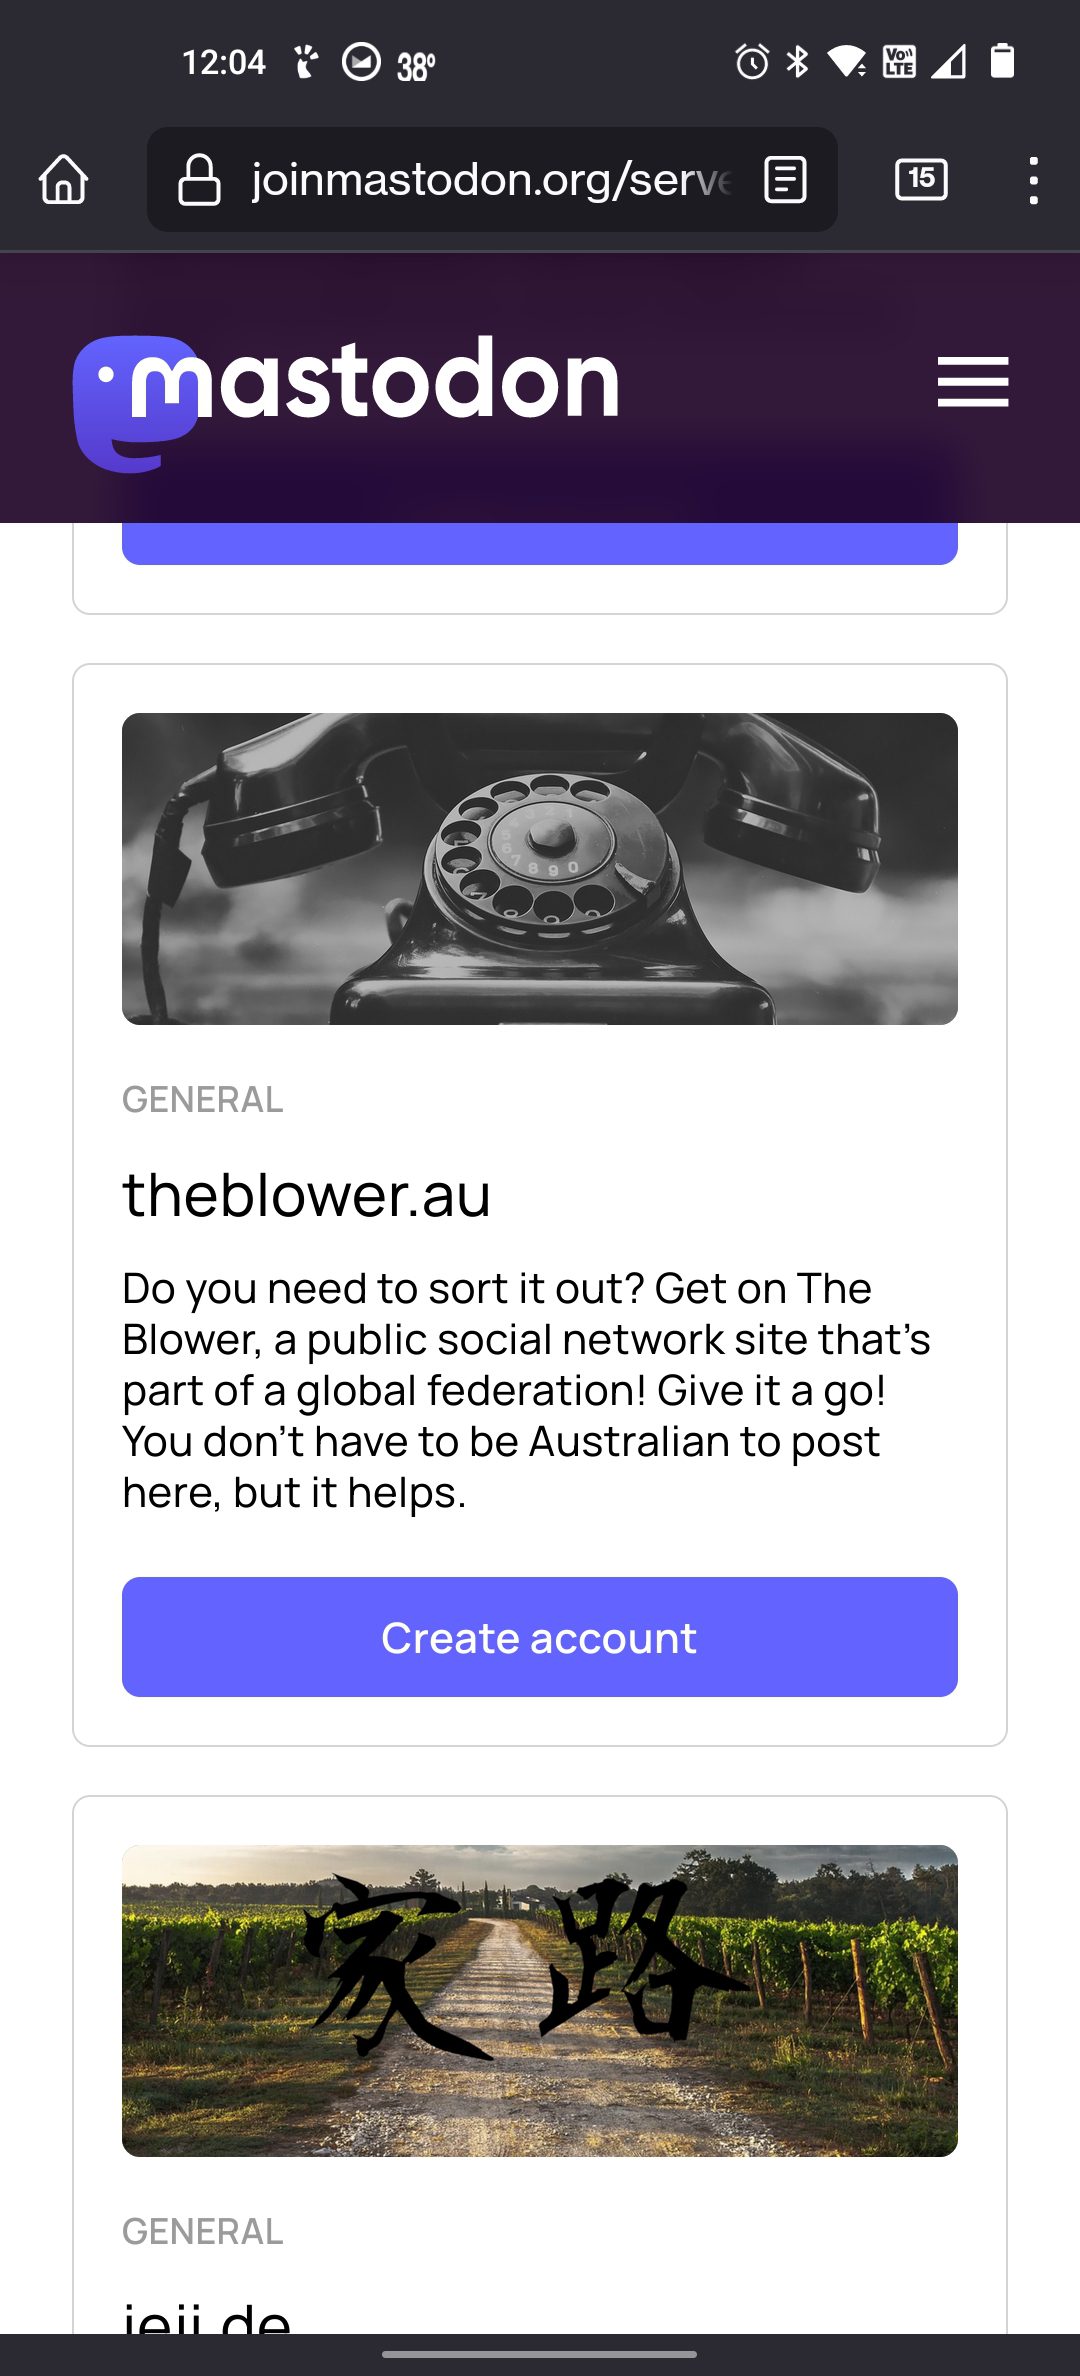
When you find an instance that sounds appropriate for you, click on the the Create account or Apply for an Account button. There is a difference between these two buttons, which do need some explanation:
- Create Account allows you sign up and log in automatically. Most of the instances in the General category offer instant access.
- Apply for an Account is used on instances that do a brief screening before granting you access. This is mostly used for special interest servers to make certain that the person is applying for the best reason. For example, the Activism and LGBTQ+ want to be certain that new members won’t log in just to attack other members. In some cases the Apply for… button is just used to control the rate at which new users are added to the instance.
So, once you select Create account or Apply for an Account you will be taken to the instance you have selected (see Image 10):
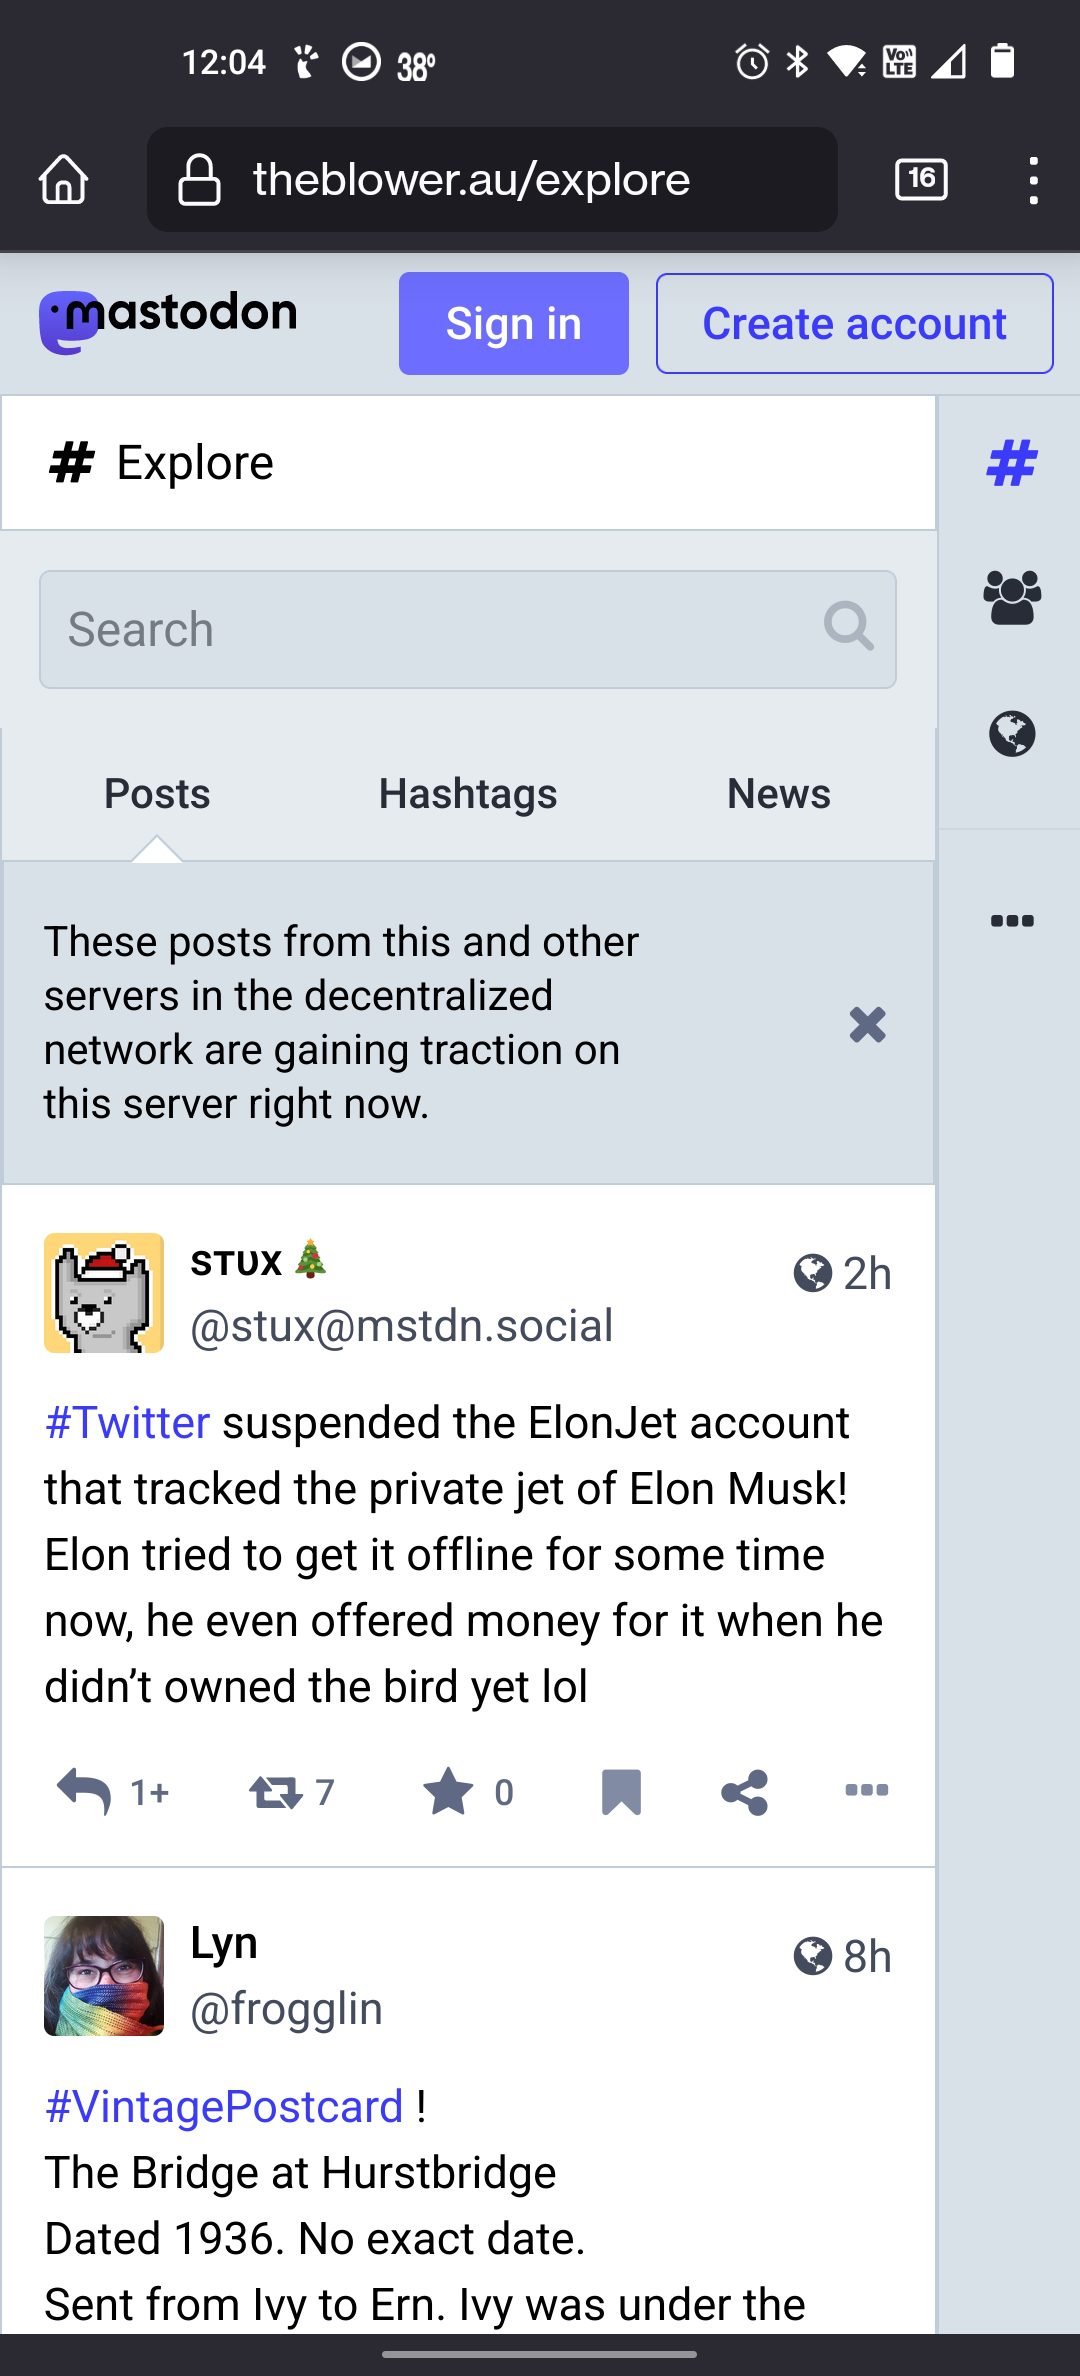
On this page you can look through some of the posts that have been made on the instance recently. When you are ready you can select the Create account button to proceed. You will be shown the rules of the site on the next page (see Image 11):
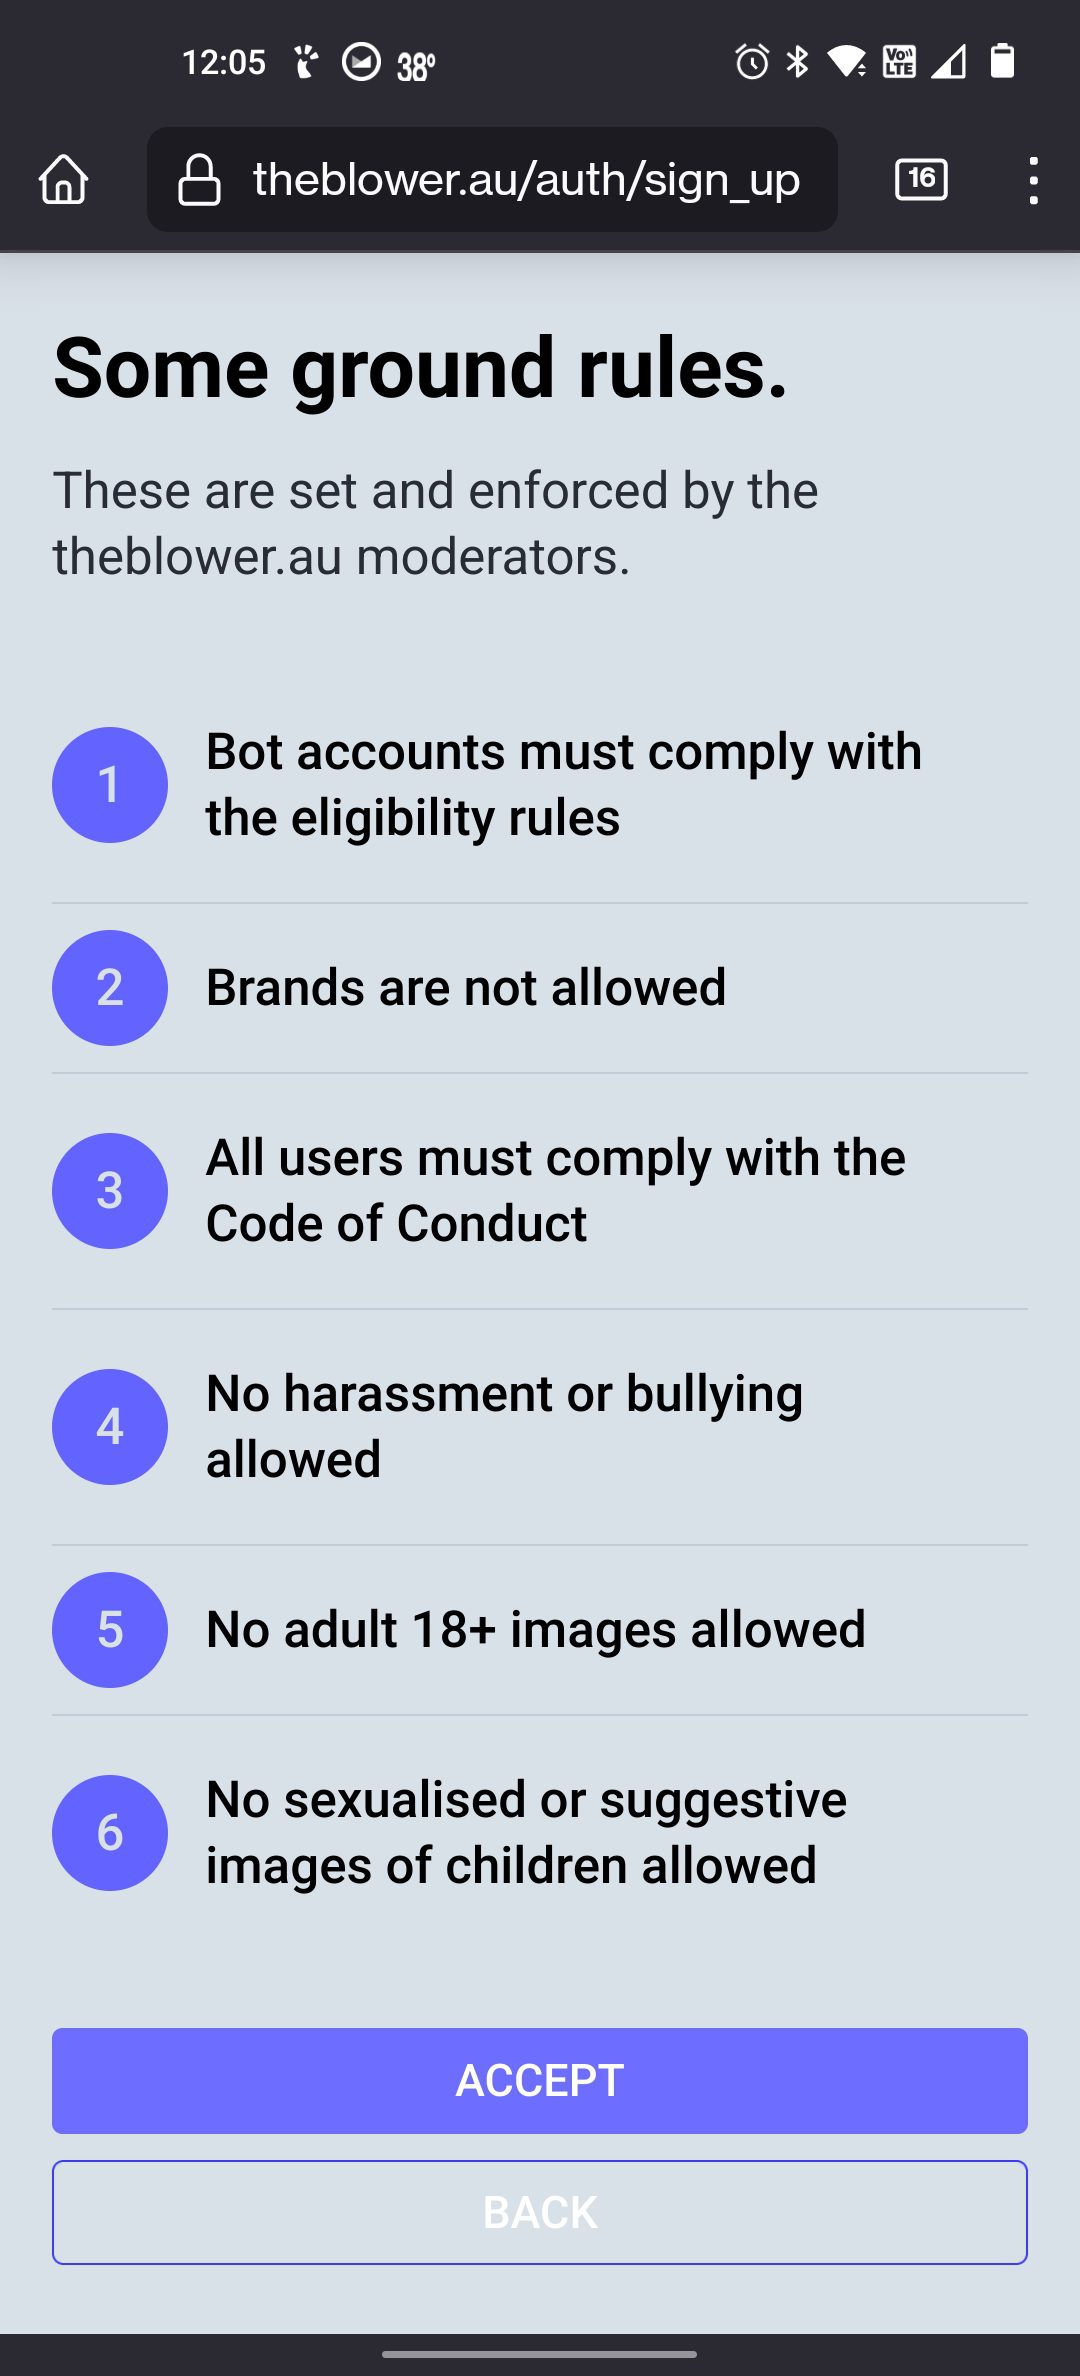
Once you have accepted the rules, you have reached the for creating your account (see Image 12):
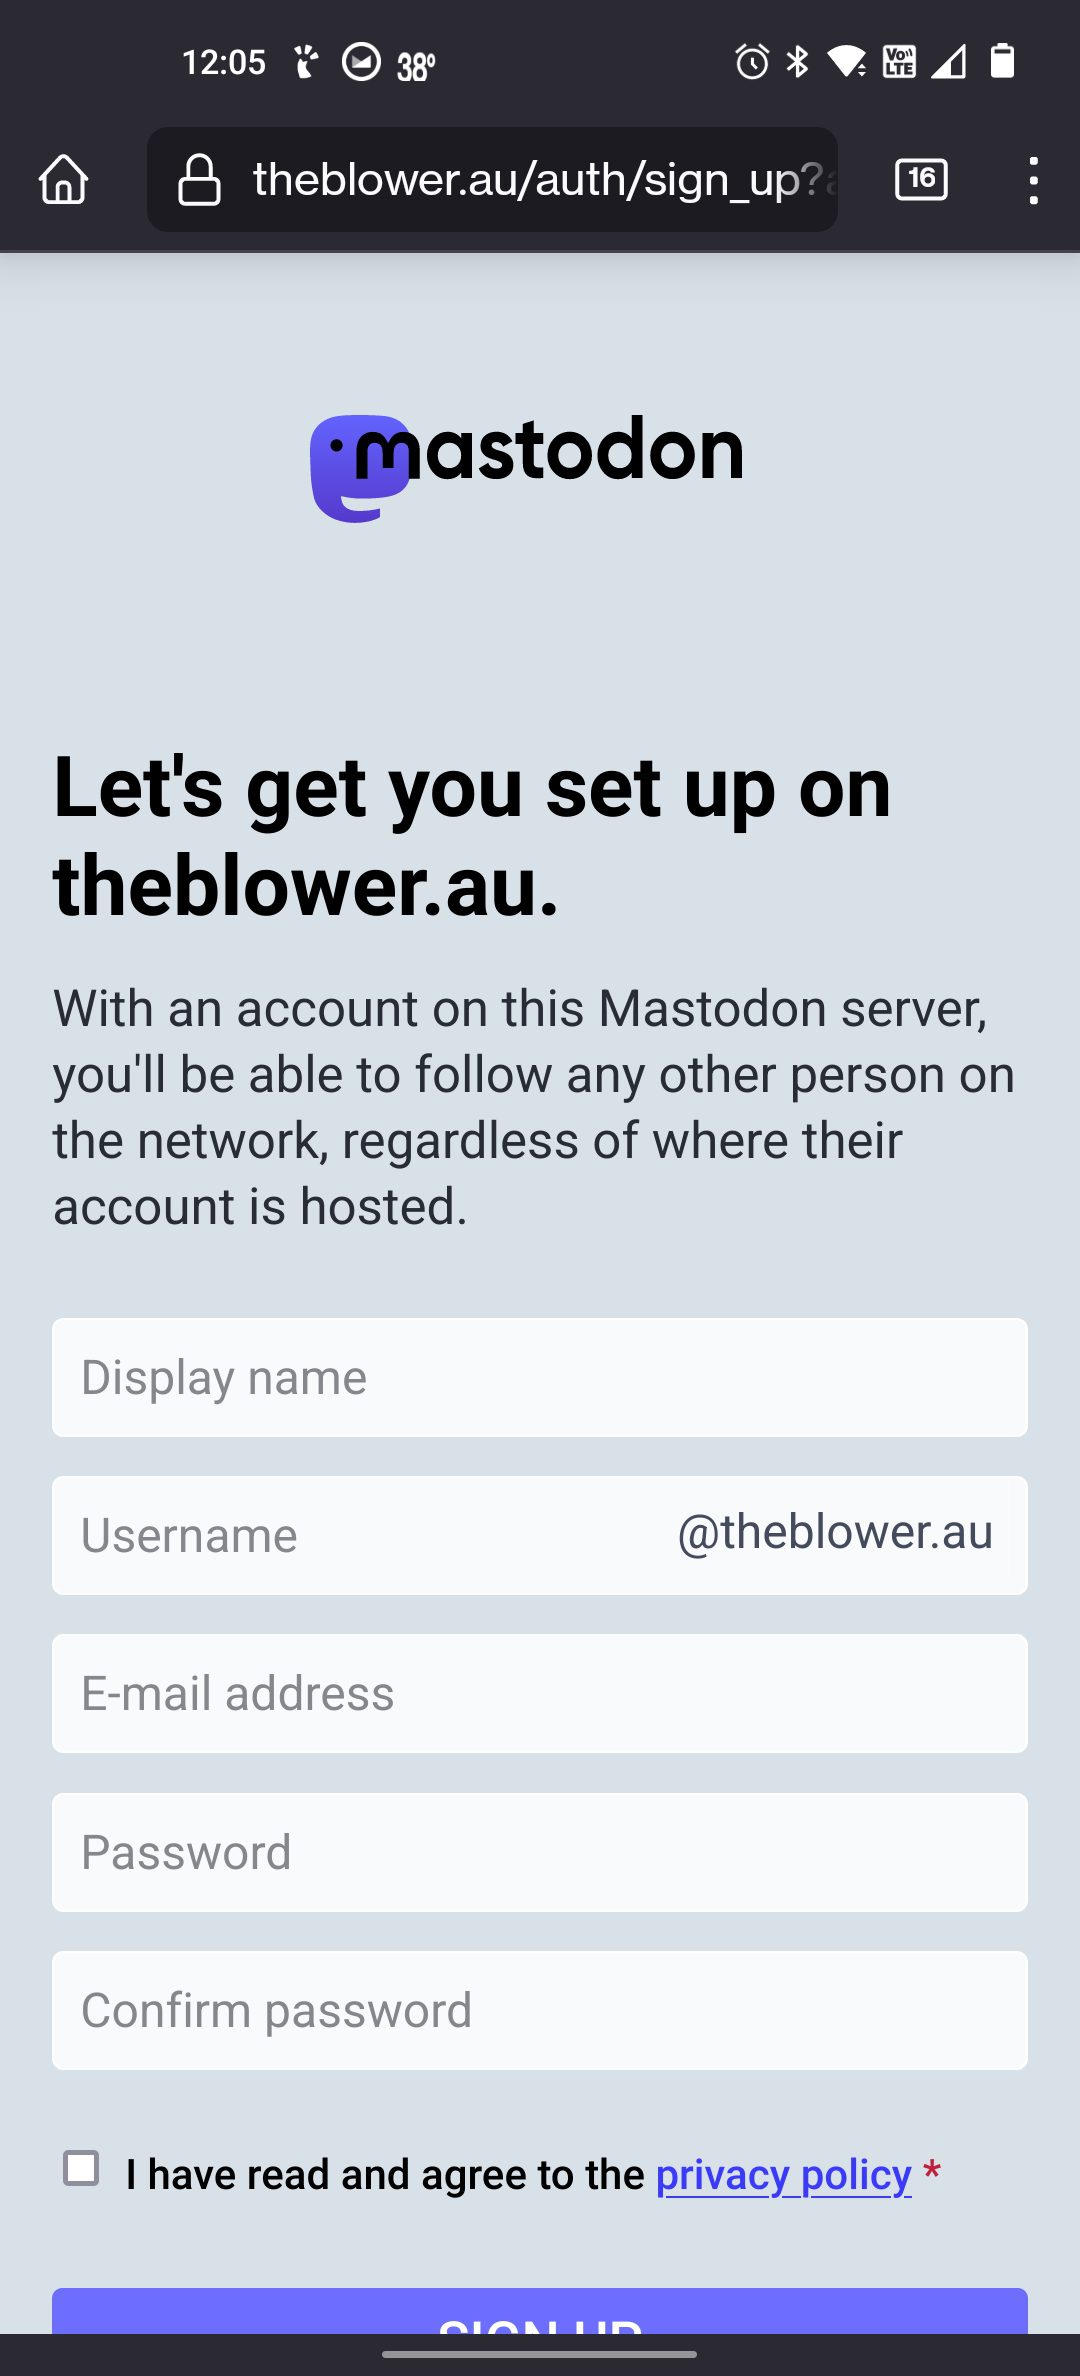
And from this point, it’s basically the same process as signing up for most other Social Media type websites. You supply a display name, username, email address, and password. Review the privacy policy, and click the Sign Up button. From this point on you’ll follow the instructions to get started with your new Mastodon account.
A Faster Way
So, as I stated before diving into the signup walk through: there is merit to the point that the signup process is complicated / cumbersome. However, there is a workaround for this: skip the part that makes you go through the Join Mastodon interface, and just jump to an instance and create an account. But how can you do that? Well, here’s a quick list of some instances that are good general chat instances that you can get started on:
- Mindly.Social
- The Blower AU
- Mastodon Party
- Mastodon Plus
- Universeodon
- Vivaldi Social
- Ohai Social
- Mstdn Social
Yes, there are lots more instances to choose from, however these instances are good starting points. Once you get comfortable with Mastodon you can migrate to another instance if you wish (there are instructions in Mastodon’s settings for how to migrate).
Once you have signed up for your account, you can use your address to sign into any app that you have installed on your phone without going through the long process of using the Join Mastodon website.
Conclusion
In this first in a series of articles we’ve looked at how to sign up for Mastodon. It is admittedly a cumbersome process, but one what was designed to be more flexible and allow new users to select an instance that is the most appropriate for them.
Having considered the signup process, I’ve included a shortcut list of a half dozen instances that are good places for signing up and investigating what Mastodon has to offer.
In the next article in this series, I’ll address some of the other criticisms that I’ve seen in the press. Having considered those criticisms, we’ll move on to discussing what makes Mastodon different from other social media websites.
Comments
One response to “How To Mastodon: The Transition”
@gdb I know this article isn't interesting to everyone already on #Mastodon – however it might be useful to those on #Twitter who are trying to escape the hellsite. If you are still active there, please post it there.#riptwitter #TwitterTakeover #TwitterDown #TwitterExodus